Presentation
|
Development
- Divide the students into groups of size 2 or 3. Give each group a copy of the 1 cm grid paper. Use the grid paper to discuss area as a measure of surface recorded in square units where each square in the grid is 1 square centimeter or 1 cm2. Ask the students to describe shapes on the grid paper with areas of 2 cm2, 3 cm2, 4 cm2, 5 cm2, and 6 cm2. Ask the students to describe a rectangle with an area of 12 cm2, and then ask them to describe a different rectangle with an area of 12 cm2.
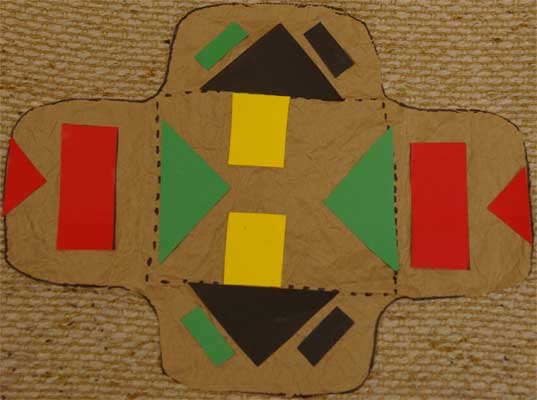
- Show the students some photos of parfleche bags and tell them they are going to make a paper parfleche bag and decorate it with some of the shapes they just described. Explain to the students that historically, the Plains Cree, Sioux, and Blackfoot parfleche bags were used to carry dried food, medicine, and personal items. A single piece of rawhide was folded into a case and tied shut with rawhide laces. The outside of a parfleche was decorated. Point out to the students that parfleche designs were always symmetrical and consisted of a series of geometrical shapes.
- Hand out the simulated rawhide and outline templates. Have each student trace the template onto their rawhide, cut it out, and fold along the dashed lines to form a parfleche bag.
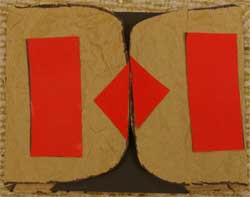
- Have each student use the colored grid paper and cut out some rectangles and square to create a design on their parfleche bag. On the grid side of each shape write its area including units, cm2. Triangles can be formed by cutting a square along its diagonal. Discuss with the class the area of the triangle. Have each student use a glue stick and glue shapes, grid side down, on one flap of the parfleche bag. Glue shapes on the opposing flap so that the flaps are symmetrical. Some students might find a Mira useful. Repeat with the other two flaps and then turn the bag over and design the back, keeping in mind the symmetry.
- An example of parfleche bag on simulated rawhide:
 |